❌

Reading view

Vegan Caesar Dressing

vegan caesar dressing recipe

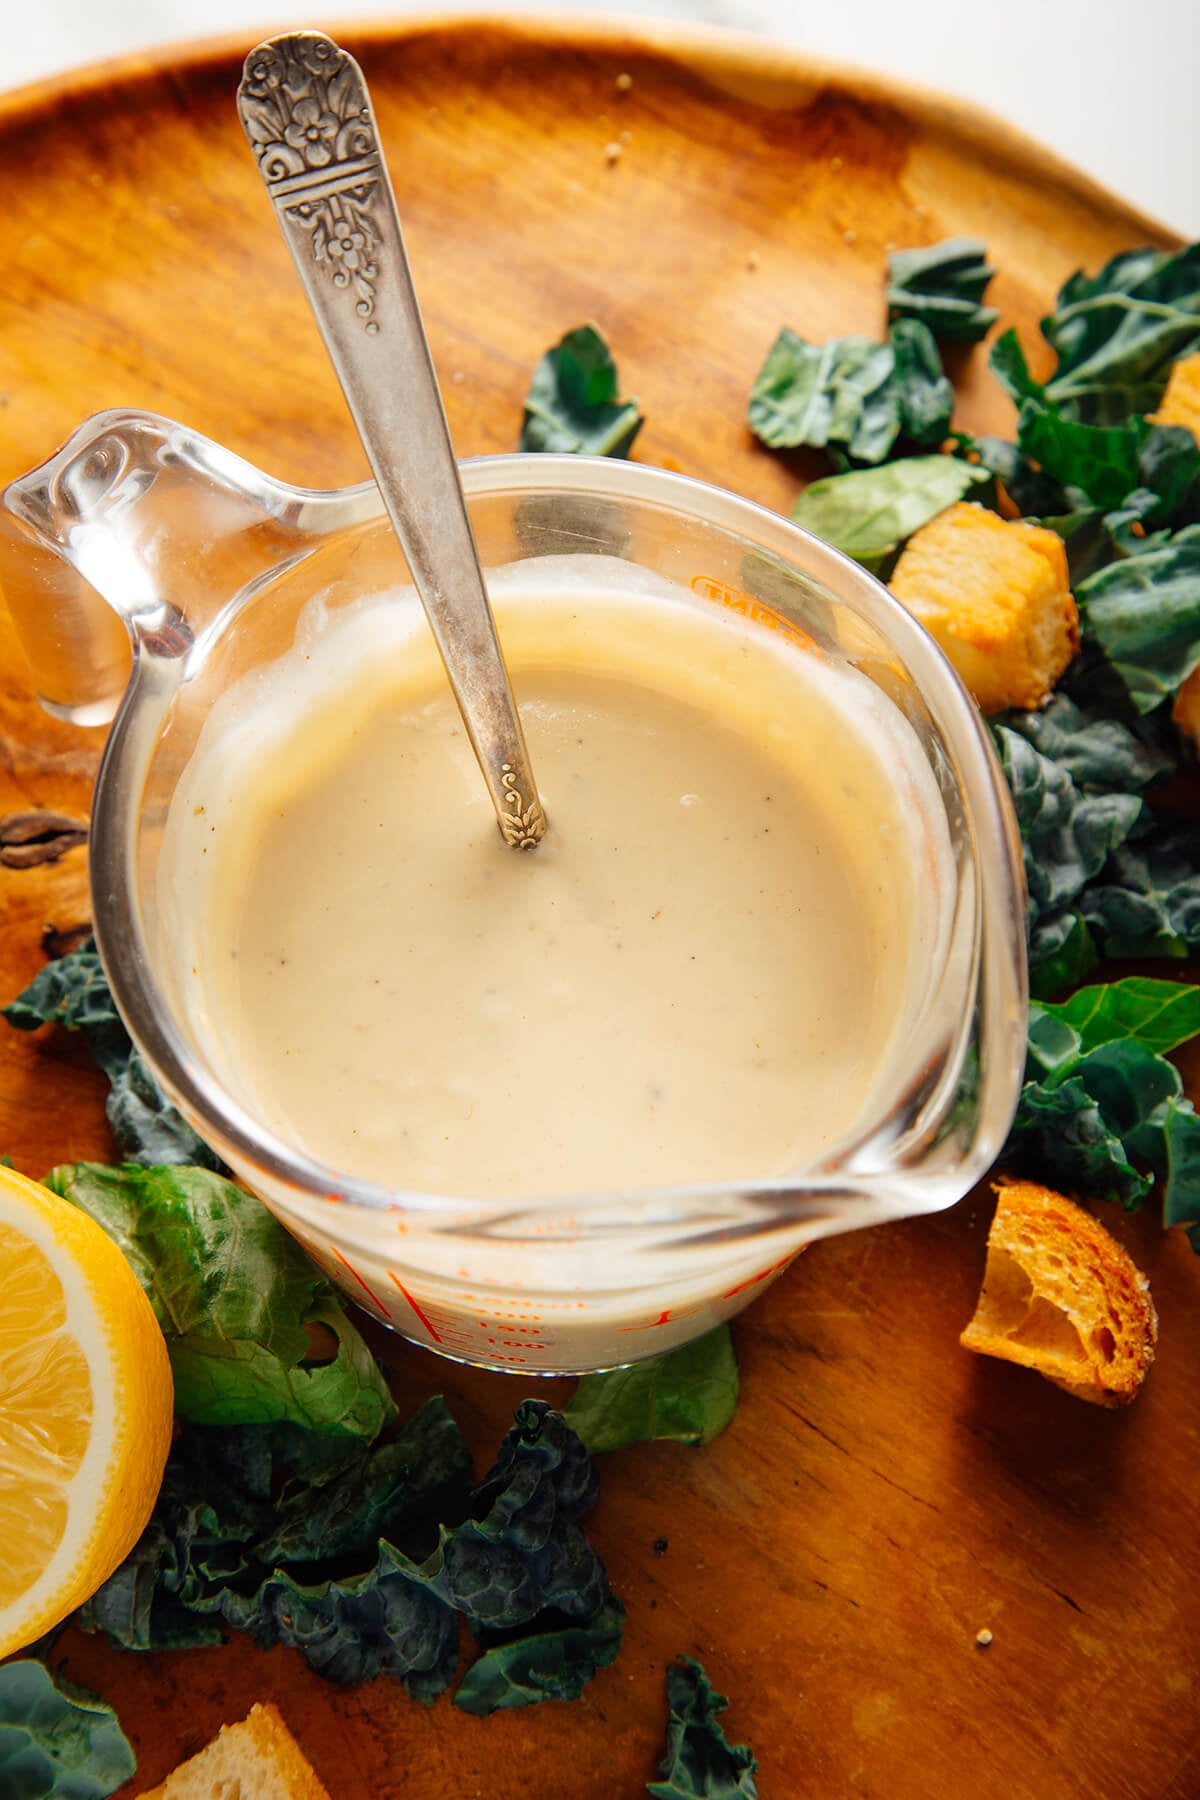
This vegan Caesar dressing is creamy and flavorful like the classic! Traditional Caesar dressings obtain their silky texture and bold flavor from homemade mayonnaise (made of emulsified raw egg yolk in oil), Parmesan and anchovy, but this recipe is free of all those ingredients. It’s perfect if you need an egg-free, dairy-free option.

What’s in it, you ask? This creamy vegan dressing is tahini-based, with lemon for tang! I’ve tried a variety of other vegan Caesar concepts over the years with ingredients like capers, cashews, nutritional yeast, or vegan mayo, and this version cannot be beat. I’m firmly on Team Tahini over here.

If you’re looking for Caesar dressing that’s closer to the classic restaurant variety, try my mayo-based Easy Caesar Dressing instead.

Continue to the recipe...

The post Vegan Caesar Dressing appeared first on Cookie and Kate.

  •  

James Beard’s Amazing Persimmon Bread Recipe

Like most Americans, even French people aren’t so familiar with persimmons. They may see them at the market, look at their curiously, but don’t stop to buy any. Or if they do, they take them home, bite into an unripe one, make a face, and toss them out.

One of my friends living north of San Francisco in Sonoma County had an enormous persimmon tree. Each fall, the leaves would drift off the tree, leaving bright orange globes of fruit dangling off the sparse branches. The beautiful, gnarled wood was quite a contrast to the smooth, brilliantly-colored orbs of fruit. (The wood of the persimmon tree is not just beautiful but it’s prized by makers of many of the finest golf clubs in the world and is considered superior to most others woods or man-made materials.)

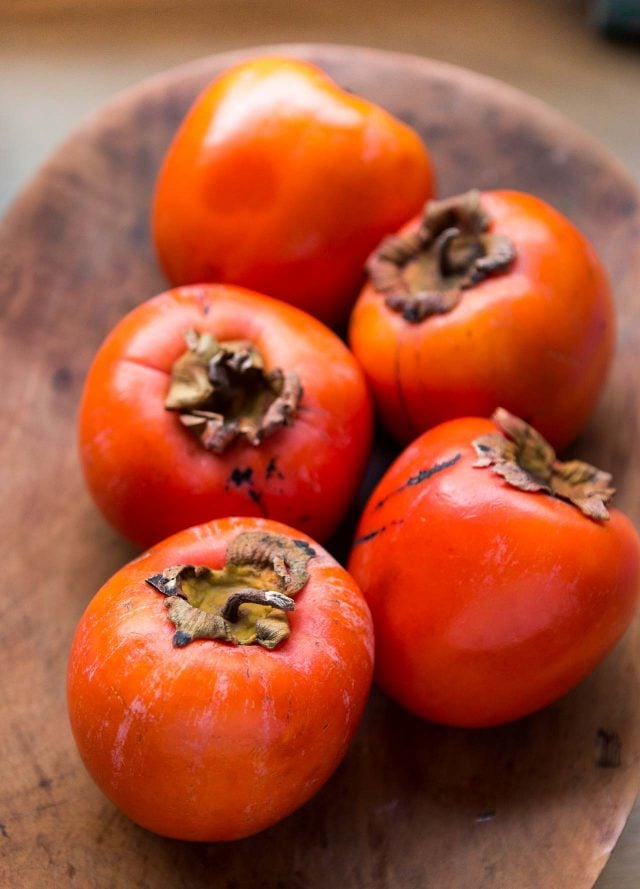
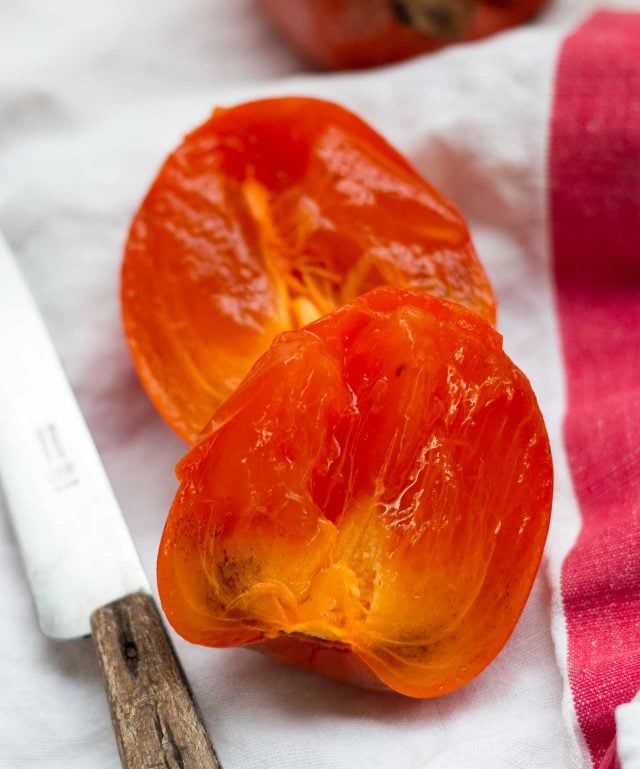
The most common persimmon you’re likely to find is the Hachiya, a slightly elongated fruit that tapers to a point. They’re incredibly tannic and astringent when not ripe and need to be squishy-soft and feel like a full water-balloon before using. Once ripe, the sweet jelly-like pulp can be spooned out and pureed through a blender, food processor, or food mill, although some folks like to eat it as is or frozen. The pulp freezes beautifully, and in fact, I’ll often freeze some for late-winter use. To ripen Hachiya persimmons, simply let them sit on your countertop until very soft. If they don’t riped at the same time, you can store the puree in the refrigerator until the others have ripened. You can hasten the process by putting persimmons in a well-sealed container; adding an apple, which gives off a lot of ethylene gas, which will speed things up.

The other common persimmon is the Fuyu, which is squatter than the Hachiya and matte-orange. Unlike the Hachiya, the Fuyu is meant to be eaten hard and is delightfully crunchy. I peel them, then mix pieces into an autumnal fruit salad along with dates, slices of Comice pears, pomegranate seeds and yes…even some bits of prunes.

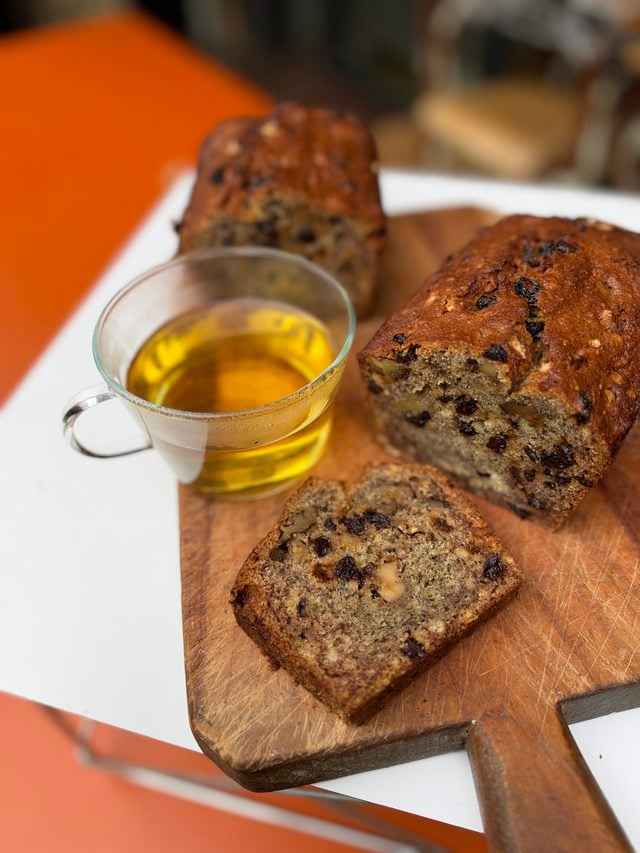
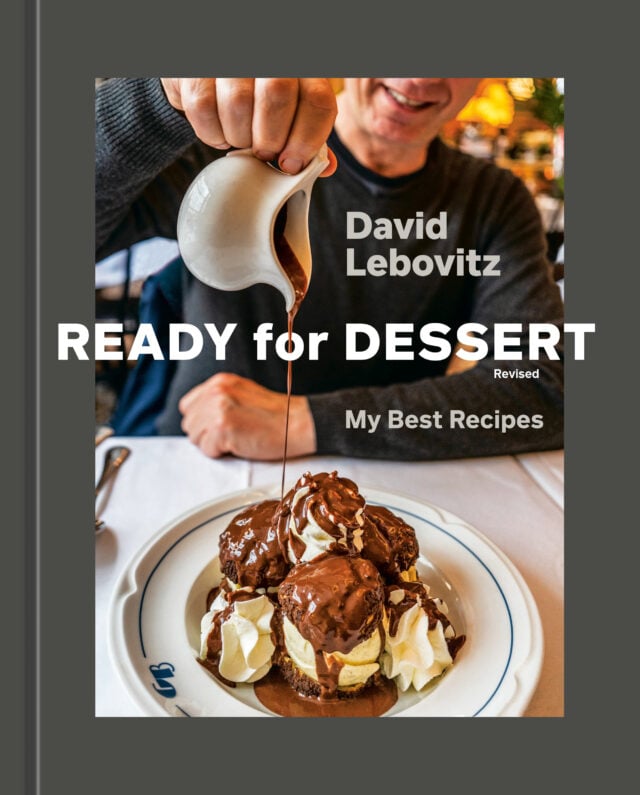
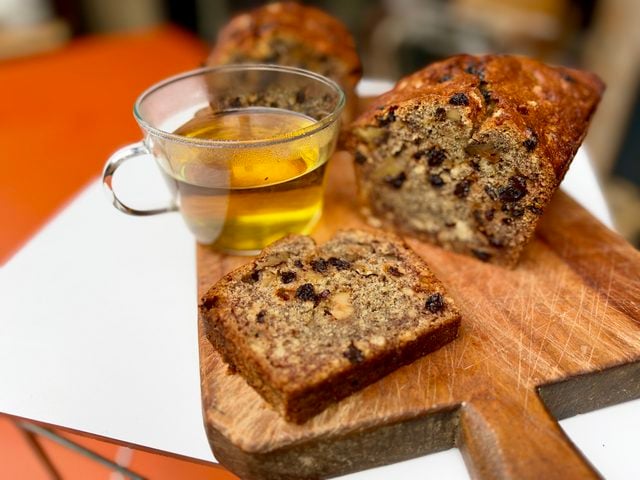
Finding recipes for using persimmons can be difficult. I invented a recipe for a quick Persimmon Cake for my book Ready For Dessert, which I make often for Thanksgiving. And I also like James Beard’s Persimmon Bread, a nifty recipe from his classic book on breadmaking, Beard on Bread, published decades ago.

I was fortunate to meet James Beard several times when he came to dinner at Chez Panisse. In the years after he passed away, we’d get all sorts of luminaries coming through our kitchen, people like James Beard, Jane Grigson, and Richard Olney, who were really wonderful cooks and writers.

The most charming thing about this simple Persimmon Bread recipe is that Beard gives bakers an inexact amount of an ingredient: sugar. So go ahead just this one time to improvise a little. Although I recommend using the higher amount of sugar, feel free to use whichever quantity you’d like…after all, you have permission from the granddaddy of all cooks, James Beard himself.

Print

Persimmon Bread

Adapted from Beard on Bread by James Beard
Using the higher amount of sugar will produce a moister and, of course, sweeter bread. I often use bourbon, as I like the flavor, but cognac, rum or brandy work well, instead. if you only want to make one loaf, cut the recipe in half. If you make two, this bread freezer beautifully.
Course Bread
Cuisine American
Keyword bread, Persimmon, raisins, walnuts
Servings 12 servings

Ingredients

  • 3 1/2 cups (420g) sifted flour
  • 1 1/2 teaspoons salt
  • 2 teaspoons baking soda
  • 1 teaspoon ground nutmeg
  • 2 to 2 1/2 cups (400-500g) sugar
  • 1 cup (8oz, 225g) melted unsalted butter cooled to room temperature
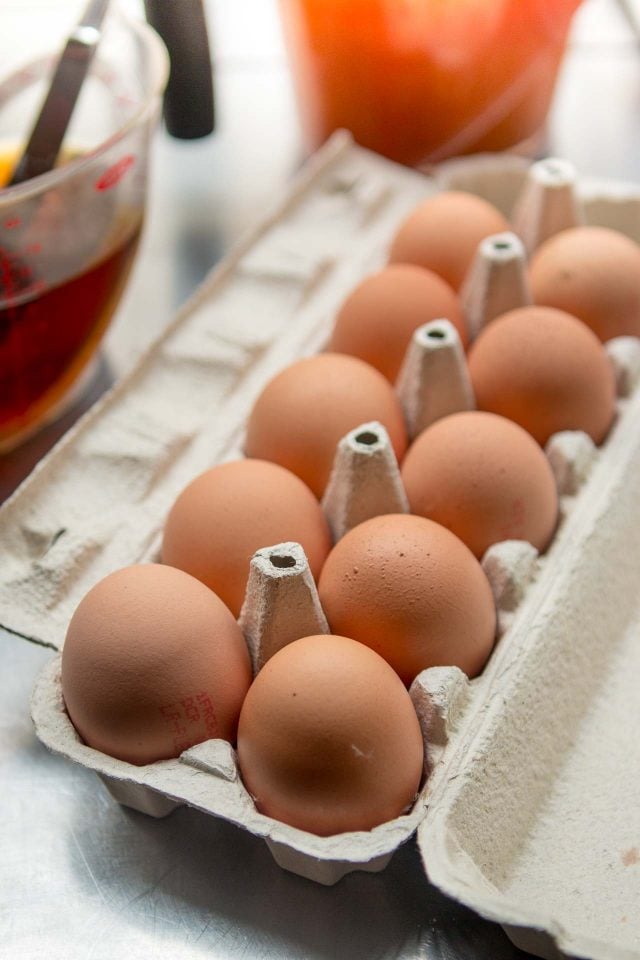
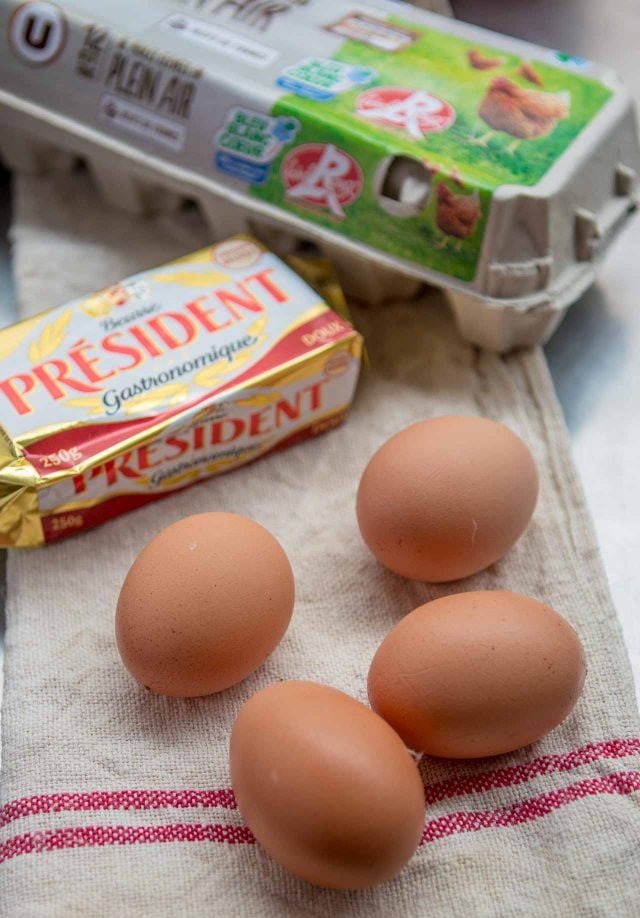
  • 4 large eggs at room temperature, lightly beaten
  • 2/3 cup (160ml) Cognac or bourbon whiskey (see headnote)
  • 2 cups (500ml) persimmon puree (from about 4 squishy-soft Hachiya persimmons)
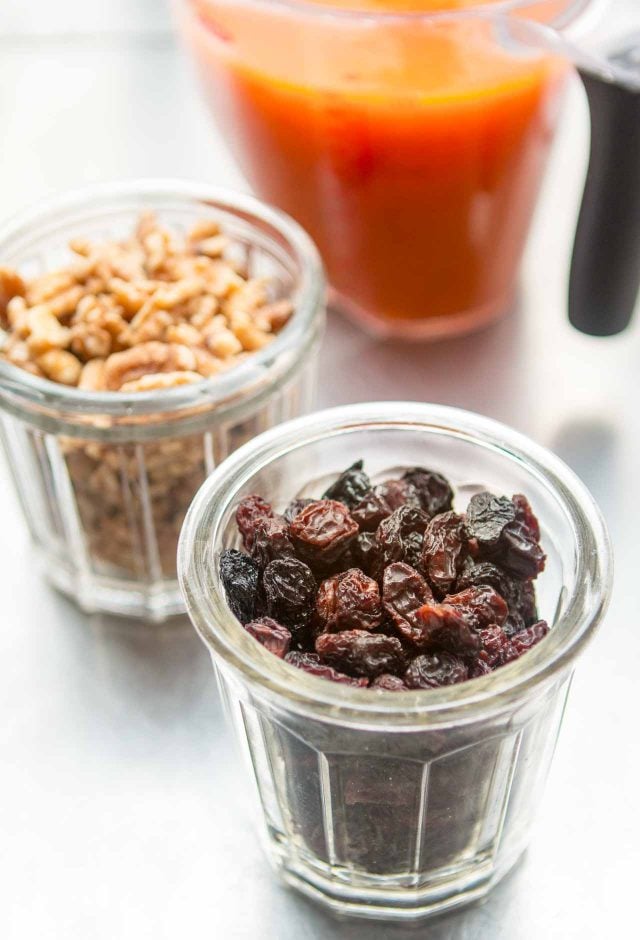
  • 2 cups (200g) walnuts or pecans toasted and chopped
  • 2 cups (270g) raisins or diced dried fruits (such as apricots, cranberries, or dates)

Instructions

  • Butter 2 loaf pans. Line the bottoms with a piece of parchment paper or dust the pans with a little flour and tap out any excess.
  • Preheat oven to 350ºF (180ºC).
  • Whisk the flour, salt, baking soda, nutmeg and sugar together in a large mixing bowl.
  • Make a well in the center of the dry ingredients then stir in the butter, eggs, liquor, and persimmon puree. Avoid overmixing the batter, but if there are some lumps, you can whisk it a few times briskly to smooth it out. Fold in the nuts and raisins.
  • Bake 1 hour, or until toothpick inserted into the center comes out clean.

Notes

Storage: Will keep for about a week, if well-wrapped, at room temperature. The Persimmon Bread can be frozen, too.
    •  

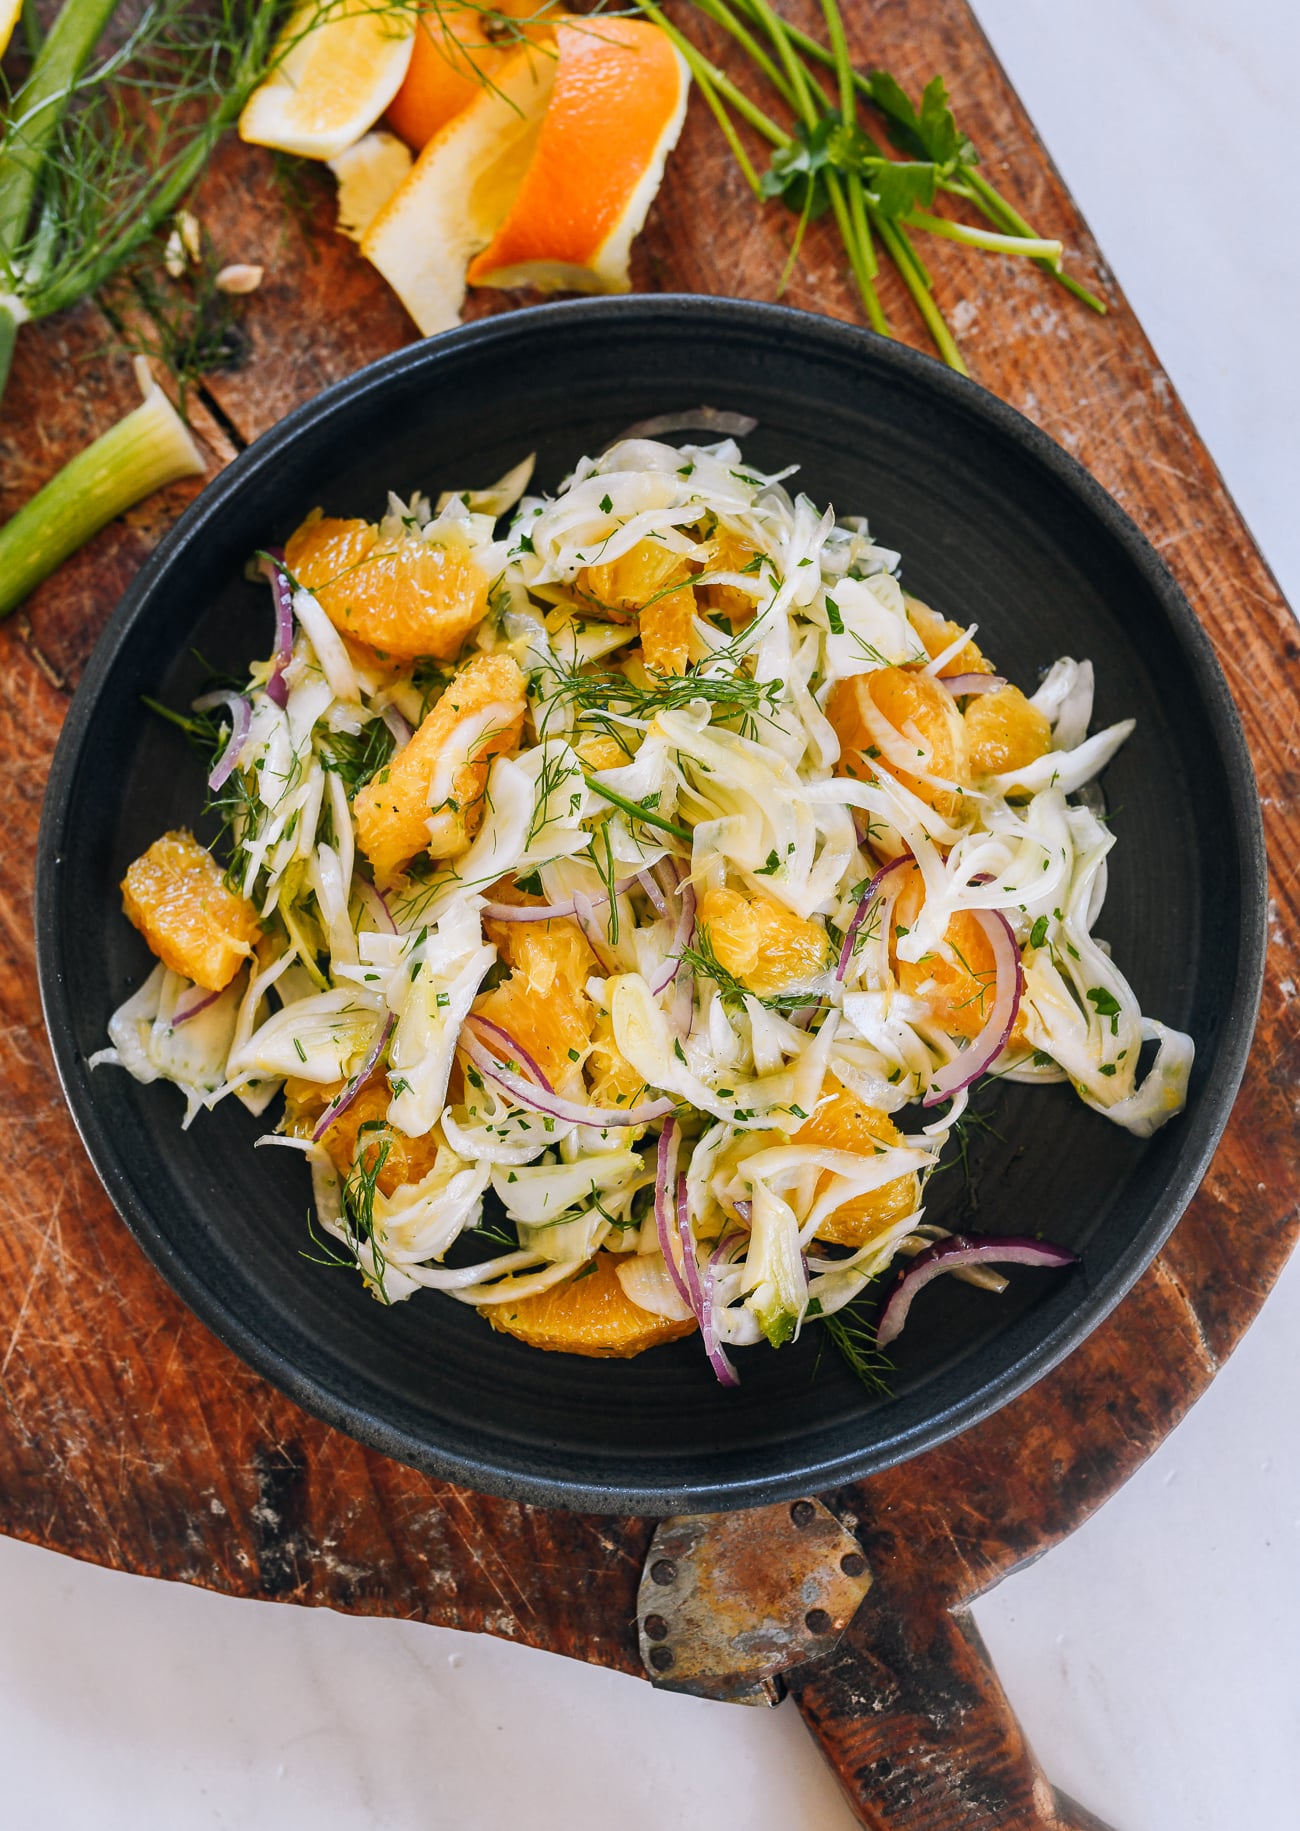
    Fennel and Orange Salad

    Fennel and orange salad recipeThis crunchy, light fennel and orange salad features thinly shaved fennel, fragrant chunks of orange and a refreshing mix of both lemon and orange juice that complements the aromatic fennel. It makes a great side dish for light and hearty dishes alike! A Recipe for Citrus Season When summer berries, stone fruit, and watermelon recede […]
    •  

    Chocolate olive oil spread

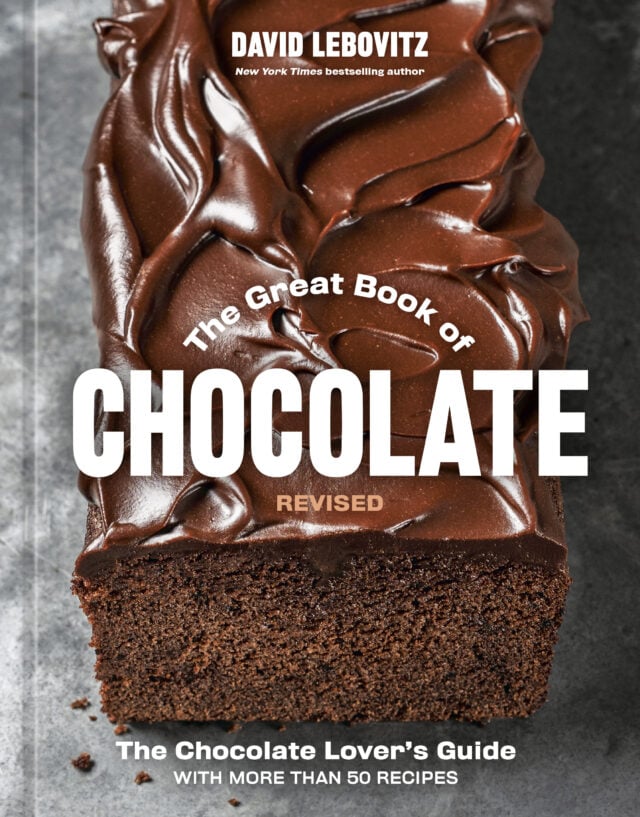
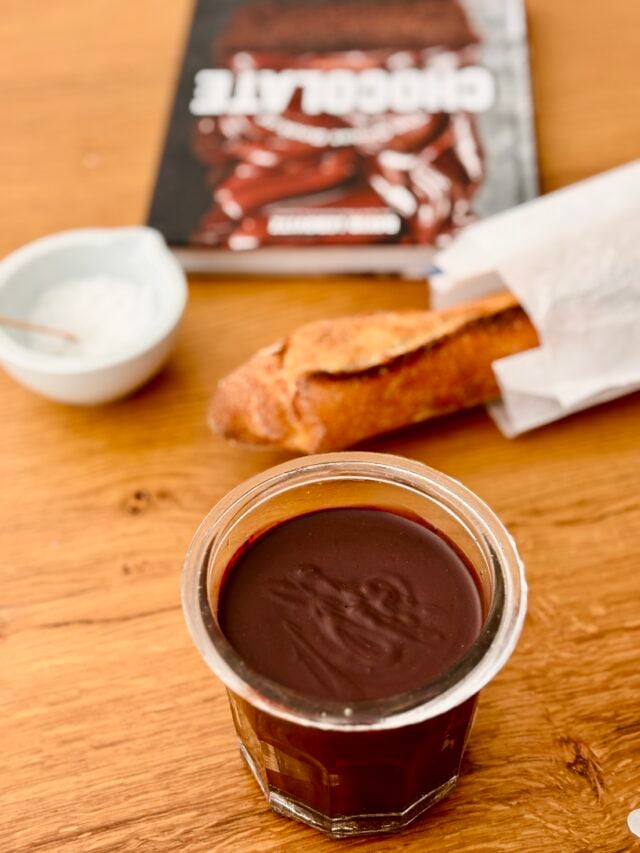
    This recipe, from The Great Book of Chocolate, is one of my favorite recipes in the book. It’s a deep-dark chocolate spread that’s just as welcome on the breakfast table with warm croissants or toast, as it is as an afternoon snack, swiped on a slice of baguette.

    The recipe comes from my friend Deb Perelman, of Smitten Kitchen, who came to Paris and made it in my kitchen with me. You can watch the full video here.

    Since you’re making it at home, unlike store-bought spreads, you know what’s in this delectable. This recipe uses olive oil, which is healthy and delicious with the dark chocolate. I like to use one that’s fruity, which compliments the chocolate perfectly.

    Depending on the type of chocolate you use, and it’s percentage of cacao solids, as well as the ambient temperature of your kitchen, the spread can be a bit firm, or soft, at room temperature. If it’s too firm, you can zap it for a few seconds in the microwave to make it more spreadable. If it’s too soft, it can be chilled briefly. In my kitchen, it’s perfect just as it is at room temperature…and I think you’ll love it too.

    The Great Book of Chocolate - Revised
    Print

    Chocolate Olive Oil Spread

    A delicious dark chocolate spread with olive oil that you're whole family will enjoy. The recipe is adapted from my book, The Great Book of Chocolate – now available!
    Course Breakfast, Snack
    Keyword chocolate, olive oil, spread
    Servings 8

    Ingredients

    • 1/2 cup (70g) powdered sugar
    • 1/4 cup (25g) unsweetened cocoa powder preferably Dutch process
    • 4 ounces (115g) bittersweet or semisweet chocolate chopped
    • 1/2 cup (125ml) olive oil
    • Flaky sea salt such as Maldon or fleur de sel

    Instructions

    • Sift together the powdered sugar and cocoa powder in a small bowl.
    • Warm the chopped chocolate and olive oil over low heat in a medium saucepan, stirring until the chocolate is melted and smooth. With a whisk, stir in the powdered sugar and cocoa powder mixture.
    • Transfer the mixture to small bowl and refrigerate until it's spreadable, which can take 2 to 3 hours. Check it every 15 minutes until it's the consistency of chocolate pudding. Scrape the mixture into a jar and store at room temperature until ready to serve.

    Notes

    The spread can be stored at room temperature for up to two weeks. It can be refrigerated for up to one month. Let it come to room temperature before serving. 
    For more information about cocoa powder, check out my Cocoa powder FAQs.
    •  

    Chinese Spinach Salad

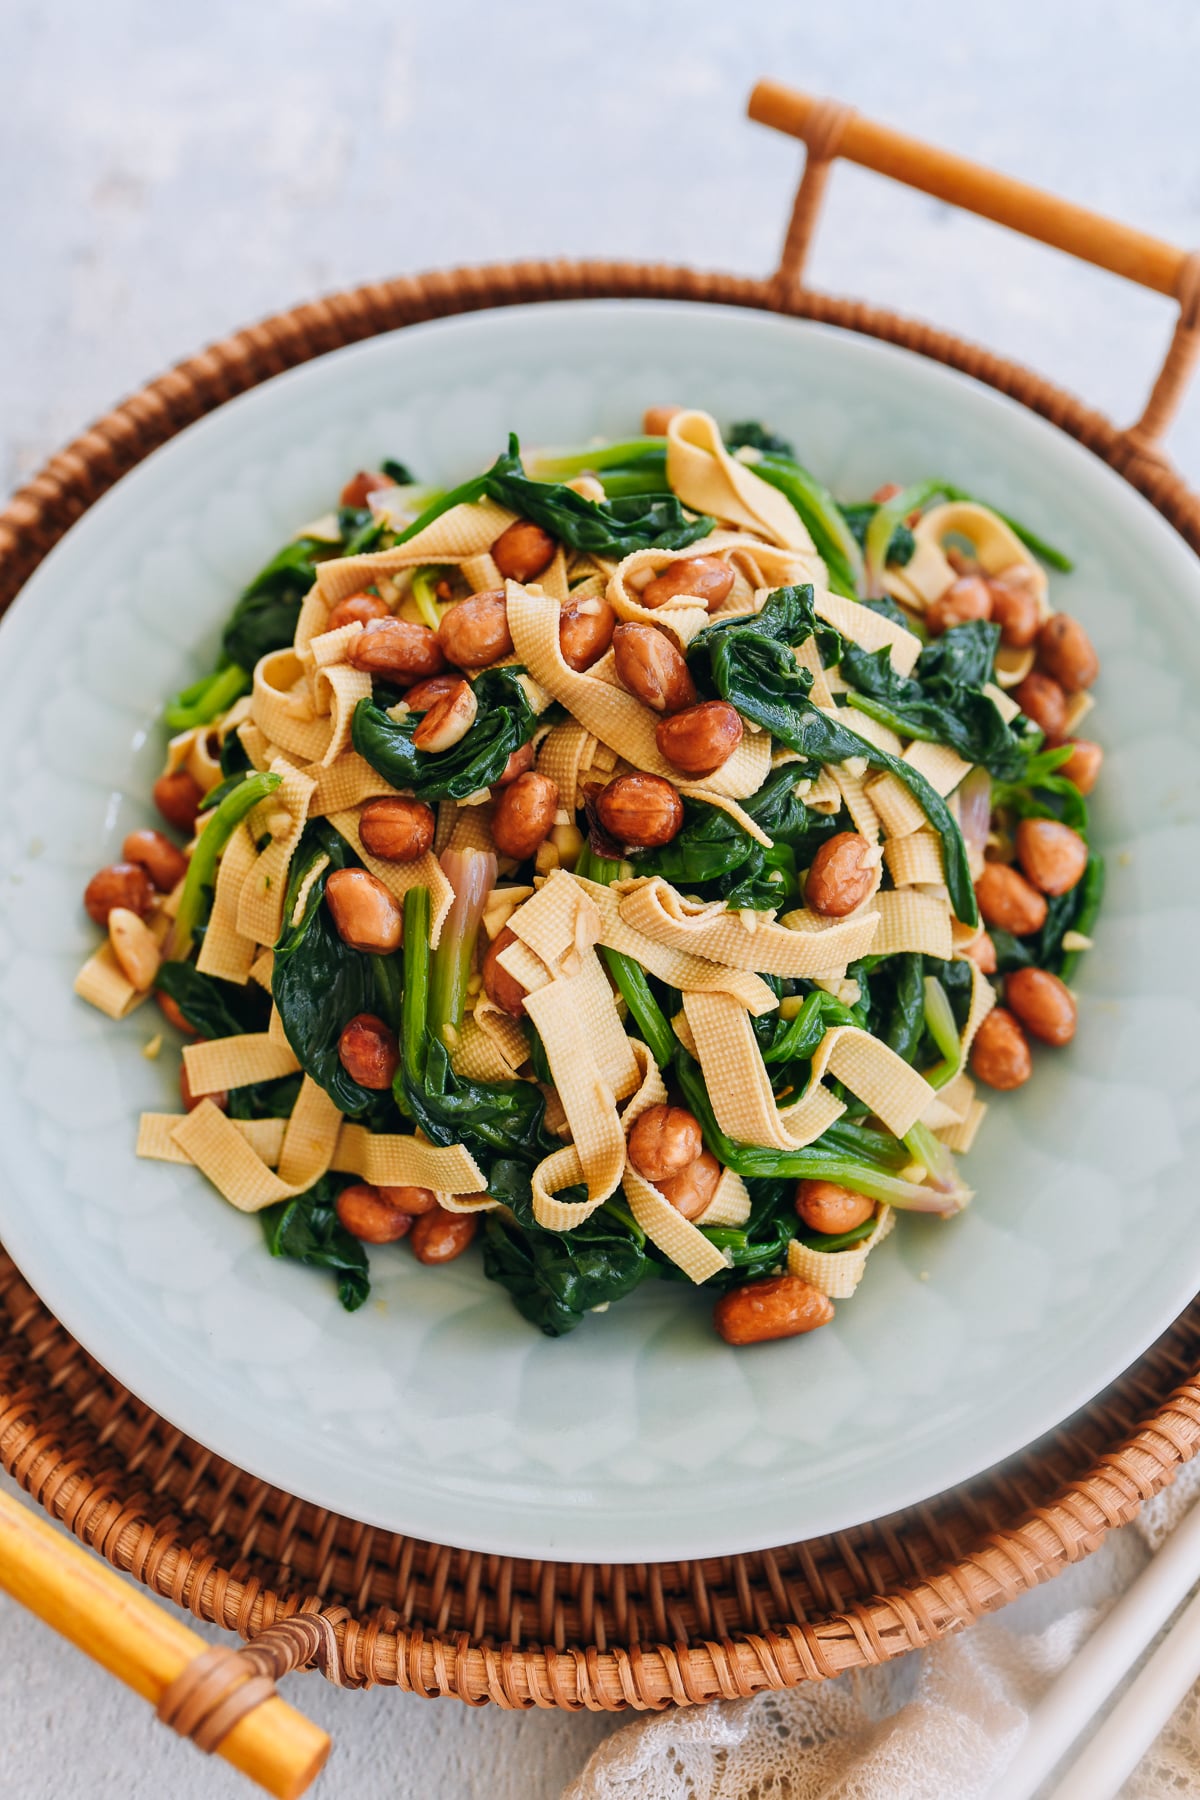
    Chinese Spinach SaladThis Chinese Spinach Salad is a hearty and delicious way to enjoy lots of fresh spinach. Adding tofu skin and peanuts makes it extra tasty and nutrient-dense!  The Art of the Chinese “Cold Dish”    Every year, I like to come up with one or two new “cold dishes” that can be served chilled or room […]
    •  

    Spicy Sun-Dried Tomato Pasta Salad 

    Spicy sun-dried tomato pasta salad recipeThis spicy sun-dried tomato pasta salad recipe is our new go-to for summer BBQs, potlucks, picnics, and easy summer lunches. It is incredibly simple to make, with just 7 basic ingredients. Somehow though, it is crazy addictive!  Inspired by a Local Deli We have this deli here in North Jersey that makes awesome sandwiches, but […]
    •  

    Cucumber Tomato Salad with Mint

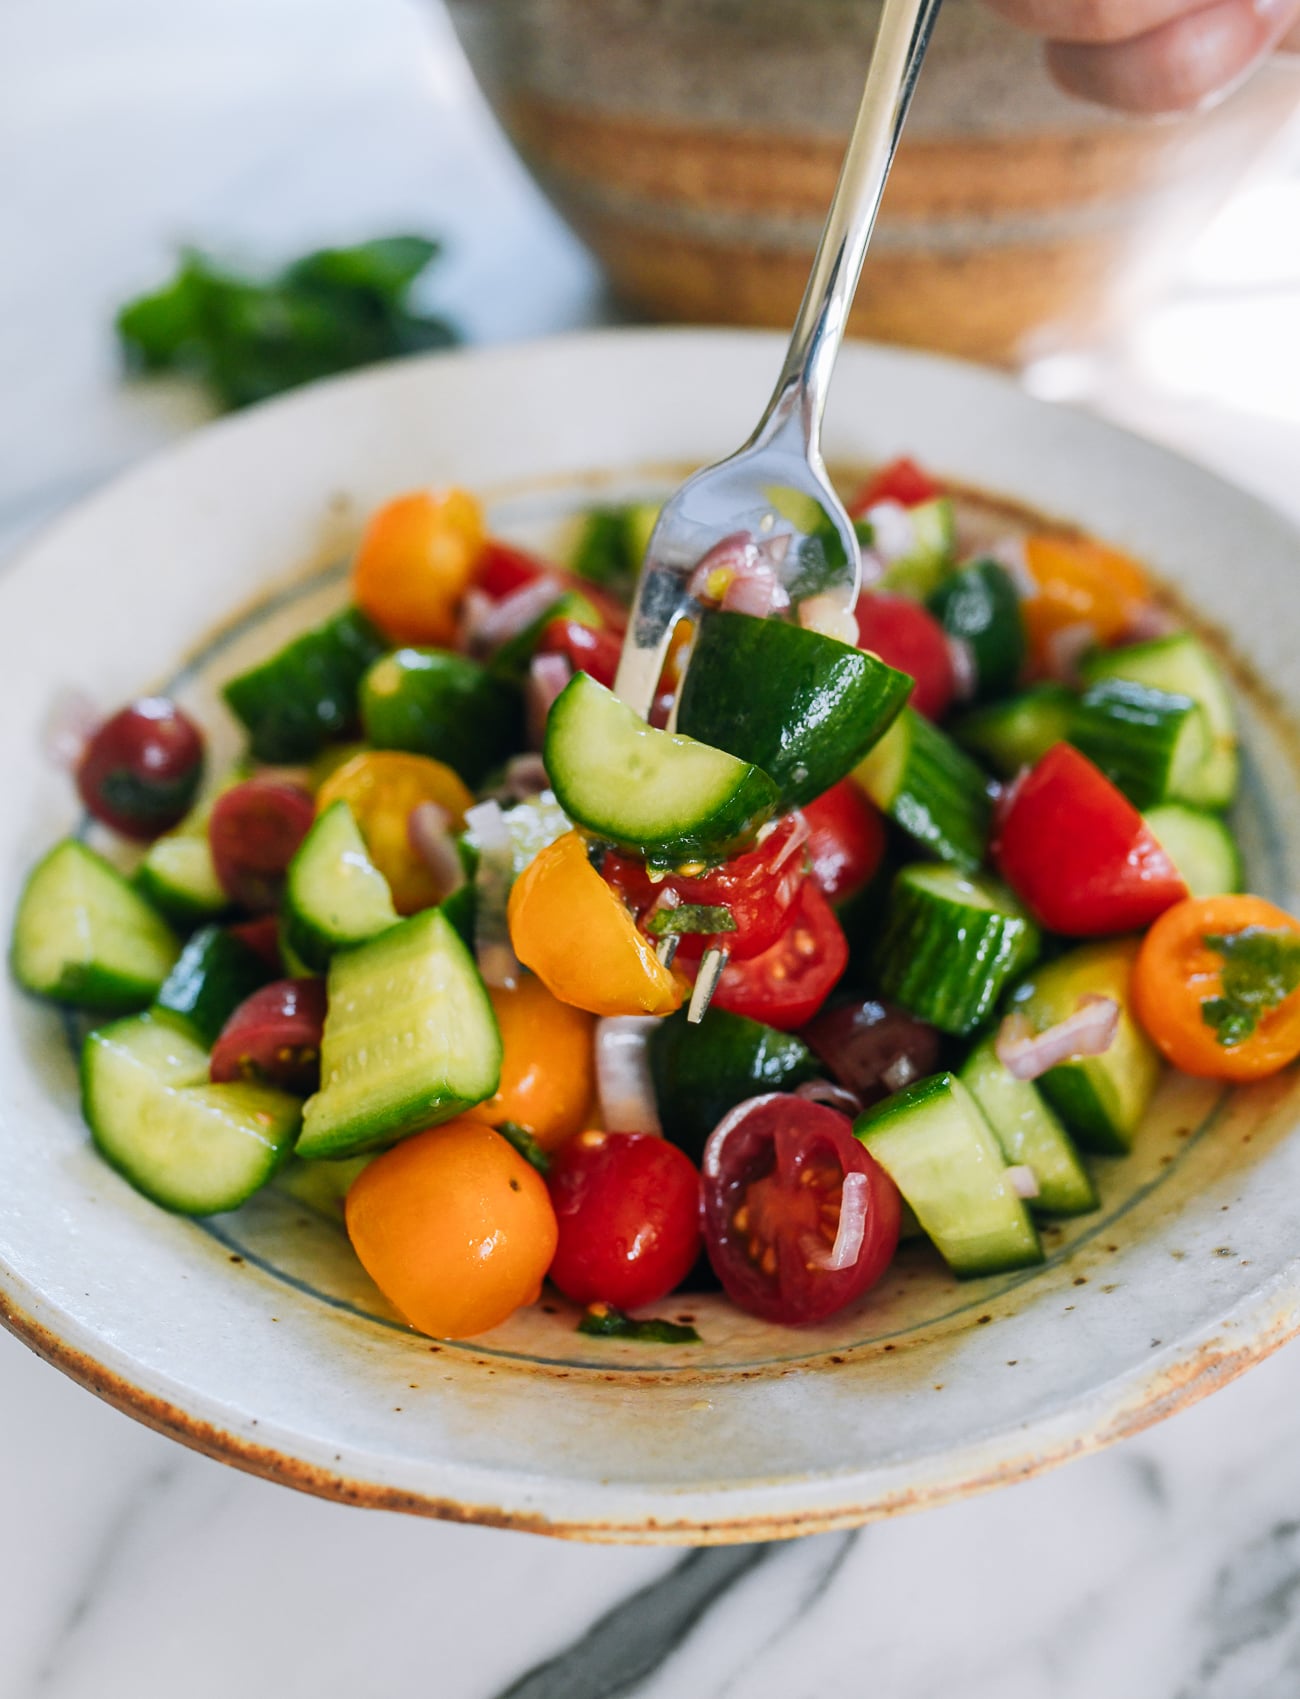
    Cucumber Tomato Salad with MintThis is my perfect Cucumber Tomato Salad, with just enough mint to bring out the essence of the cucumbers and grape tomatoes. It’s refreshing and pairs beautifully with all kinds of summer favorites, from grilled meat to seafood!  A Simple Salad to Repeat All Summer Long  When summer comes, I’m always ready to embrace all […]
    •  

    Video: making chocolate-olive oil spread With Deb perlman of smitten kitchen

    I had so much fun when Deb Perelman of Smitten Kitchen came to my kitchen in Paris and made a batch of Chocolate-Olive Oil Spread, a delicious recipe from The Great Book of Chocolate.

    The Great Book of Chocolate - Revised

    The spread is easy (and fun!) to make, and is just one of the more than 50 recipes in the book, which includes Chocolate Mug Cakes, award-winning Blue Chip Chocolate Chip Cookies, Individual Warm Chocolate Cakes, Chocolate Truffles, Homemade Rocky Road, Chili with Chocolate, and lots more.

    You can find the recipe for the Chocolate-Olive Oil Spread in my newsletter, too!

    Get your copy of The Great Book of Chocolate at your local bookstore or online retailer from one of these links:

    Amazon | Bookshop.org | Now Serving | Barnes & Noble | Omnivore | Book Larder | Kitchen Arts & Letters | Bold Fork | Books are Magic | Amazon France | Powell’s | RJ Julia | Strand | Smith & Son Paris | Amazon UK | Politics and Prose | Vivienne Culinary Books | Book Passage | Elliot Bay | Village Books | East End Books | Indigo Canada

    •  

    Our Go-to Side Salad

    Side Salad RecipeThis is my go to side salad that I make often, whether it’s for two people, four, six, or ten. A good side salad strikes a balance of ease and satisfaction, and this has become my old reliable for simple dinners at home and entertaining.  The Key Ingredient Is Kind of a Big Dill The […]
    •  

    Peach and Burrata Salad

    peach burrata salad recipe

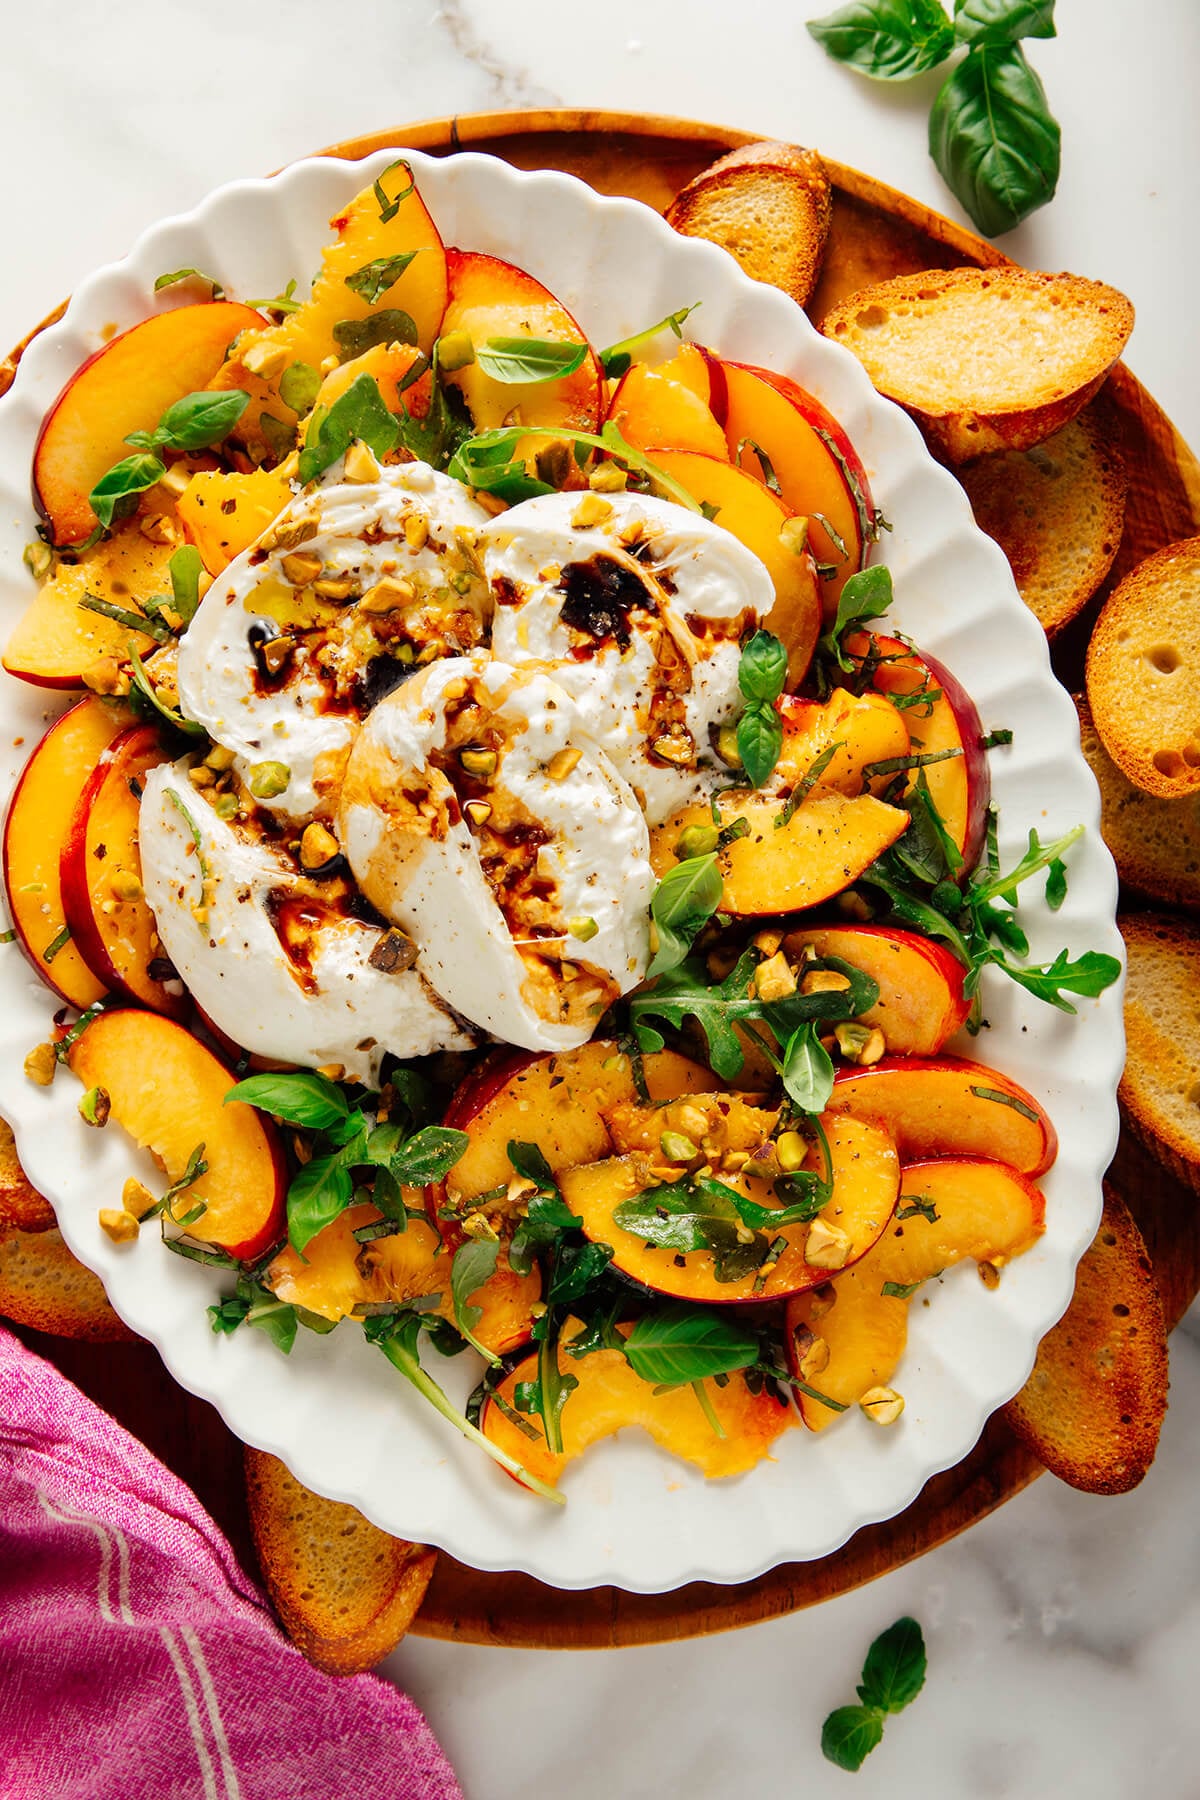
    This summertime stunner tastes as good as it looks! I had a feeling my Burrata with Tomatoes and Basil would be good with peaches instead of tomatoes, and wow, it’s great. I wholeheartedly recommend it.

    The recipe features sliced peaches, fresh arugula and basil, creamy burrata, and toasted pistachios, drizzled with olive oil and balsamic vinegar. It’s a vibrant sweet-and-savory combination that you can serve as a salad or an appetizer.

    I love fresh, simple summer recipes like these because they look and taste gourmet but require no cooking at all. This beautiful recipe is ready in 15 minutes!

    Continue to the recipe...

    The post Peach and Burrata Salad appeared first on Cookie and Kate.

    •  

    Shallot Vinaigrette 

    Shallot Vinaigrette RecipeThis Shallot Vinaigrette makes even the most basic pile of mixed greens out of the box taste wonderful. A liberal drizzle of this salad dressing feels like you’re sitting down at a nice restaurant, and it couldn’t be simpler to make!  Our New Go-To Salad Dressing I don’t know about you, but sometimes when I’m […]
    •  

    Blue Cheese Dressing

    blue cheese dressing recipe

    I don’t always love blue cheese, but I love this blue cheese dressing. It’s a great introduction to blue cheese if you’ve been hesitant to try it, and a guaranteed winner if you love it. You can use mild cheese, as I prefer, or a more intense blue cheese for a bolder dressing.

    This blue cheese dressing recipe is creamy but not too heavy, nicely tangy, and tastes like the best restaurant versions, thanks to the fresh chives and garlic. It’s similar to my Easy Blue Cheese Dip, but ready to drizzle over greens.

    Salads are my specialty, and my collection of dressings was incomplete without this classic. It’s so much better than store-bought!

    Continue to the recipe...

    The post Blue Cheese Dressing appeared first on Cookie and Kate.

    •  

    Maple Pecan Sticky Buns

    Maple Pecan Sticky Buns

    I’ve never been a huge fan of sticky buns because I find many of them teeth-screamingly sweet. That said, these dial down the sweetness in favor of flavor, courtesy of two of my favorite things: pecans and maple syrup. And having the two swaddled in a butterscotch-like caramel seems to make each one taste even better than they do on their own.

    Maple Pecan Sticky Buns

    I was intrigued by a new baking book, The New Sugar & Spice by Samantha Seneviratne, whose subtitle promises recipes for “bolder baking,” which immediately caught my interest. I don’t need to wow me with innovation – tweaking classics is often good enough. The wheel can only be reinvented so many times and no need to repair something that doesn’t need fixing.

    Maple Pecan Sticky Buns

    It’s unfortunate that I am hooked on both, and like other expats, maple syrup and pecans are two things that we tend to hoard. Sirop d’érable (maple syrup) is available in Paris, the best bottles are sold at natural food stores, and pecans are around, although I often find them not quite at their freshest by the time they’ve hit the store shelves. So I lug those back with me. Fortunately, on occasion, I’m treated to bags by visiting friends and guests. Thank goodness I now have an American-sized freezer.

    Maple Pecan Sticky Buns

    Well…to be honest, I used to hide them in the freezer, but since I’m a compulsive nibbler, I was getting tired of teething on frozen pecans. So I gave up and started keeping them in a drawer, which means easier access to these precious beauties.

    Maple Pecan Sticky Buns

    Sticky buns are very easy to make. You start with a simple yeasted dough, softened with milk. Once it rises, you strew the rolled out dough with a mixture of brown sugar and cinnamon. Then comes the fun part: Rolling them up!

    The doughy roll then gets sliced into spiraled wheels. Watching them rise in the pan – then rise even further in the oven, is one of the great joys in life. Eating them, of course, is the best part. But if you’ve got kids (or even a middle-aged man, like me), this is a really fun project for a weekend or during a holiday break.

    Maple Pecan Sticky Buns

    While I was making these, I posted a live video on Snapchat, which is a fun way to share short videos that I’ve been playing around with. The downside is that I got so involved with shooting and sharing that I neglected to chop the pecans before using them, as you can see in the pictures. On Snapchat, posts and videos disappear after twenty-four hours – so when it’s gone, it’s gone! But you can follow me on Snapchat for other tips, future videos and a soupçon of occasional goofiness at davidlebovitz.

    Maple Pecan Sticky Buns

    As much as I’m freaked out by new technologies, the old ones tend to vex people, too. Folks get freaked out by candy thermometers, but if you use one, you can get your caramel precisely to where it should be. I “went rogue” and didn’t use one, and my sticky buns got a touch too dark, which I liked for the “on the edge” flavor, but resulted in a sticky bun glaze that was less-runny that what some might be used to. So if you have one, you should put that candy thermometer to use when making these sticky buns.

    Maple Pecan Sticky Buns

    The result of my morning of baking was a tray full of sticky buns that were great for a mid-morning snack but not bad for bringing to a meeting later that evening, which I did. The next day, people raved about them. I’ve got a few other “bold” recipes bookmarked from Samantha’s gorgeous book. And I’m going to make sure my stock of pecans doesn’t run too low, because I’ll be making these again in the near future.

    Maple Pecan Sticky Buns

    Print

    Maple Pecan Sticky Buns

    Adapted from The New Sugar & Spice by Samantha Seneviratne
    The original recipe calls for baking eight spirals in a 9-inch (23cm) round pan, but I wanted to get nine smaller ones, so used an 8-inch (20cm) square pan and cut the rolled up dough into nine disks. You can do either. Note: Do not use a springform pan for this recipe. Because of the maple caramel, the pan may leak. Even if you wrap it well with foil, caramel may seep out and you don’t want the lovely maple-accented glaze on foil. You want it on your sticky buns.The original recipe also called for a mix of walnuts and pecans, and I opted for all pecans since they’re one of life’s great luxuries to me. But you can swap out any nuts as you wish. There was also 1/2 cup (80g) of raisins added to the caramel along with the pecans, which I omitted as well, although you’re welcome to add them, or another dried fruit, like cranberries or sour cherries.You’ll also note the recipe calls for bread flour. Its higher protein content means that you’ll have better gluten formation and sturdier bread, or buns, as in this case. Most well-stocked supermarkets carry it or you can buy it
    . You can replicate it by replacing 1 1/2 teaspoons of all-purpose flour with 1 1/2 teaspoons of vital wheat gluten, per cup, or 140g, of all-purpose flour. (In France, I use T65 organic flour and add vital wheat gluten, which is available in natural food stores.)
    Course Snack

    Ingredients

    For the dough

    • 6 tablespoons unsalted butter cubed
    • 2/3 cups (160ml) whole or lowfat milk
    • 3 tablespoons granulated sugar
    • 1 3/4 teaspoon active dry yeast
    • 1 large egg
    • 2 1/2 cups (320g) bread flour
    • 1/2 teaspoon kosher or sea salt

    For the topping

    • 6 tablespoons (3 ounces, 85g) unsalted butter
    • 1/4 cup (45g) dark brown sugar
    • 1/4 cup (60ml) maple syrup (dark amber)
    • 1/2 teaspoon kosher or sea salt
    • 1 cup (140g) pecans lightly toasted and coarsely chopped

    For the filling

    • 1/4 cup (45g) dark brown sugar
    • 2 tablespoons ground cinnamon
    • 1/2 teaspoon kosher or sea salt
    • 3 tablespoons (1 1/2 ounces, 42g) butter salted or unsalted, at room temperature

    Instructions

    • To make the dough, warm the butter, milk and sugar in a small saucepan. Pour into the bowl of a stand mixer and let stand until slightly tepid. (You can make this without a stand mixer. If so, pour the milk mixture into a medium bowl.) Sprinkle the yeast over the milk, stir gently, and let sit in a warm place until it starts to bubble, about 10 to 15 minutes.
    • Mix in the egg, flour, and salt, and knead with the paddle or dough hook at low-to-medium speed until smooth and elastic, about 5 minutes. (If kneading by hand, it may take a bit longer.) Knead the dough a few times with your hand until it’s a smooth ball, place it back in the bowl and cover the bowl with a kitchen towel. Let rise in a warm place until doubled, about 1 to 1 ½ hours. Time can vary, and it may take longer, or less time.
    • While the dough is rising, make the topping. Lightly butter a 9-inch (23cm) round or 8-inch (20cm) square cake pan. Heat the butter, brown sugar, maple syrup and salt in a small saucepan fitted with a candy thermometer and cook over medium heat until the mixture comes to a boil. When it gets foamy, after a minute or so, when a few of the bubbles start to get larger, remove from heat. (Samantha notes in her book that if using a thermometer, the temperature should read 212ºF (100ºC).
    • Pour the maple caramel into the prepared cake pan and strew the pecans over the caramel. Set aside.
    • To make the filling, mix the brown sugar, cinnamon and salt in a small bowl. Set aside.
    • When the dough has risen, knead the dough a couple of times on a lightly floured countertop and roll it into a 10-inch (25cm) square. Spread the softened butter over the dough and sprinkle evenly with the filling mixture. Roll up the dough as tightly as possible and using a serrated knife, cut the dough into 8 or 9 slices. If using a square pan, cut into 9. If using a round pan, cut into 8. Place them in the pan with the cut side up. Cover loosely with plastic wrap or a clean, lint-free kitchen towel, and let rise until almost doubled, about 1 hour.
    • Ten minutes before you’re ready to bake the sticky buns, preheat the oven to 375ºF (190ºC). Place the pan of sticky buns on a baking sheet lined with foil (to catch any overflow drips or spill) and bake until the center roll is lightly browned on top and it doesn’t feel soft when you press it with your finger, 25 to 30 minutes.
    • Remove the rolls from the oven. Let cool for 5 minutes then run a knife around the outside (if possible, as the buns may have overtaken the rims), then tip the sticky buns out onto a cooling rack or serving platter.

    Notes

    Serving and storage: Sticky buns are always best served warm, and the day they are made but are fine the next day. If you wish, you can keep them well-wrapped for a few days, rewarming them in a low oven, wrapped in foil until heated through. They can be frozen for up to two months.

    Related Posts

    Ingredients for American Baking in Paris

    Ingredient Ingredients and Substitutions

    Vegan Sticky Buns (Minimalist Baker)

    Gluten-Free Sticky Buns (Faithfully Gluten-Free)

    •  

    Burrata with Tomatoes & Basil

    burrata appetizer recipe

    Let’s hear it for burrata cheese! I always order burrata when I find it on restaurant menus, and we’ve had some stellar combinations this summer. I can’t resist burrata’s contrasting textures—it’s like fresh mozzarella on the outside, but lusciously soft and creamy on the inside.

    For this recipe, I designed a quintessential summertime burrata salad with fresh tomatoes. Serve it with crostini or a loaf of crusty bread to make it an appetizer. This burrata dish comes together in 15 minutes, believe it or not, and it’s a real showstopper.

    I wanted to keep it simple but make it taste special, so I drew reference from my Easy Tomato Salad and Tomato Basil Bruschetta. I landed on a combination of cherry tomatoes and sun-dried tomatoes for depth, plus freshly toasted pine nuts for a savory note. It’s not complete without a drizzle of rich olive oil, tangy balsamic vinegar, and a sprinkle of fresh basil. I hope it becomes one of your go-to recipes!

    Continue to the recipe...

    The post Burrata with Tomatoes & Basil appeared first on Cookie and Kate.

    •  

    32 Fresh Summer Salads

    summer salad recipes

    Summertime produce is in full swing, and I couldn’t be happier about it! Salads are my specialty, so I’ve created a collection of my best summer salad recipes. They’re perfect for parties, barbecues and summer evenings at home. These recipes have hundreds of five-star reviews, so they’re sure to be a hit on your table.

    You’ll find classic potluck salads, such as potato salad and cowboy caviar, international favorites like tabbouleh and caprese salad, along with a variety of fresh green salads, of course. These seasonal salads feature an abundance of fresh greens, tender herbs, and summer vegetables, including tomatoes, cucumbers, green beans, as well as fruits like berries, peaches, and watermelon.

    These refreshing salads are perfect for the hottest summer days. Many feature raw produce and require minimal to no cooking. Whether you’ve gone overboard at the farmers’ market or have a garden surplus, you’ll find the solution here.

    Bookmark this page and make the most of the season! Which salad will you make first?

    Continue to the recipe...

    The post 32 Fresh Summer Salads appeared first on Cookie and Kate.

    •  

    Poppy Seed Dressing

    poppy seed dressing recipe

    Let’s hear it for poppy seed dressing! This lightly creamy, lemony dressing is irresistible with tender lettuces and fresh fruit. The poppy seeds add a light crunch and nutty flavor that make your salads memorable.

    This recipe is easy to mix together with quality ingredients, and beats store-bought dressing by a mile. It features poppy seeds, of course, as well as fresh lemon juice and zest. It’s sweetened with honey, which offers more flavor than plain sugar. Dijon mustard and a clove of garlic keep it interesting, and mayonnaise or Greek yogurt make it lightly creamy (your choice—mayonnaise offers a more luxurious texture, while yogurt lends a lovely tang).

    Some poppy seed dressing recipes are excessively sweet or creamy, but this one is not. It’s just right. Below, you’ll find the recipe and complementary flavors to help you build a great salad.

    Continue to the recipe...

    The post Poppy Seed Dressing appeared first on Cookie and Kate.

    •  

    Quinoa Tabbouleh

    quinoa tabbouleh

    Tabbouleh fans, have you tried making it with quinoa? This recipe is a fun variation on classic tabbouleh made with quinoa instead of bulgur wheat. It turns our favorite Lebanese salad into a gluten-free dish. The quinoa is fluffy and has a somewhat nutty taste, but overall, the flavor profile is quite similar.

    Since I already changed one primary ingredient, I took the liberty of adding some chickpeas and feta cheese, more ingredients that you would not expect to find in tabbouleh. They’re entirely optional and absolutely delicious. They make the salad more hearty; if you use both, it could qualify as a light meal on its own.

    This herbaceous salad is so refreshing on a warm day. It features fresh parsley and mint, tomato and cucumber, olive oil, lemon juice, garlic, and quinoa. The proportions remain true to the traditional recipe, so it contains more parsley than quinoa, and the lemon packs a punch. I think you’ll love it.

    Continue to the recipe...

    The post Quinoa Tabbouleh appeared first on Cookie and Kate.

    •  
    ❌